One of the more fun aspects of being involved in 3D printing is the visual aspect of the industry. There’s no shortage of rich media showing off the latest 3D printed designs and we spend a good chunk of time (more than we’d like to admit) cruising Thingiverse and the like, looking for inspiration.
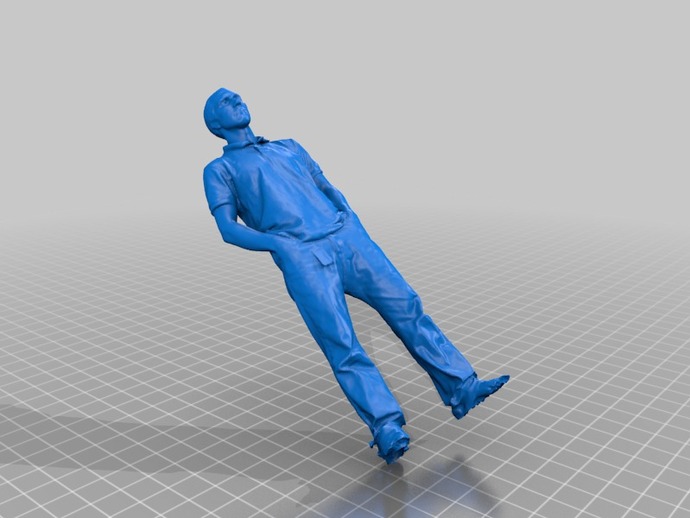
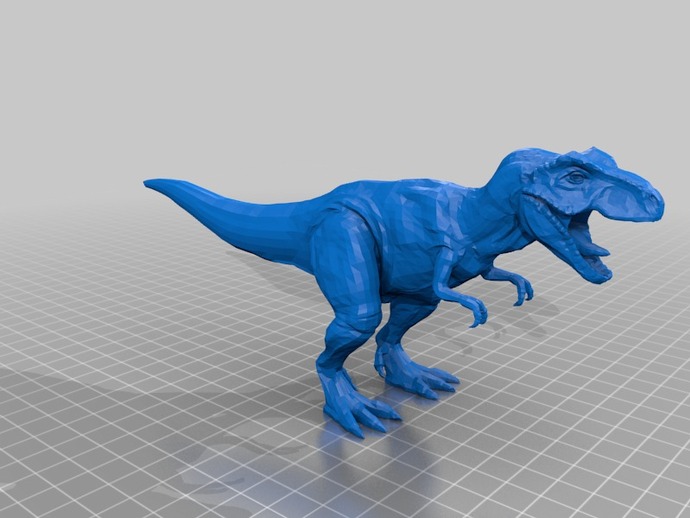
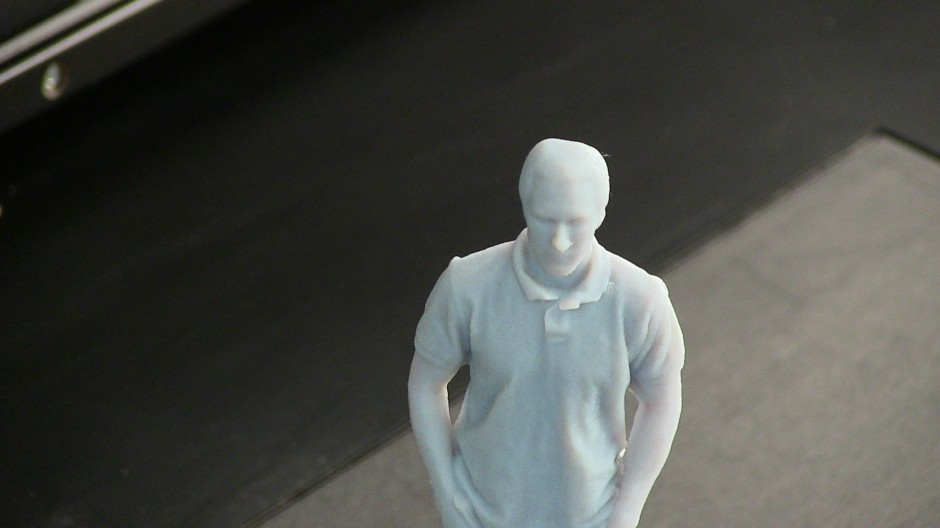
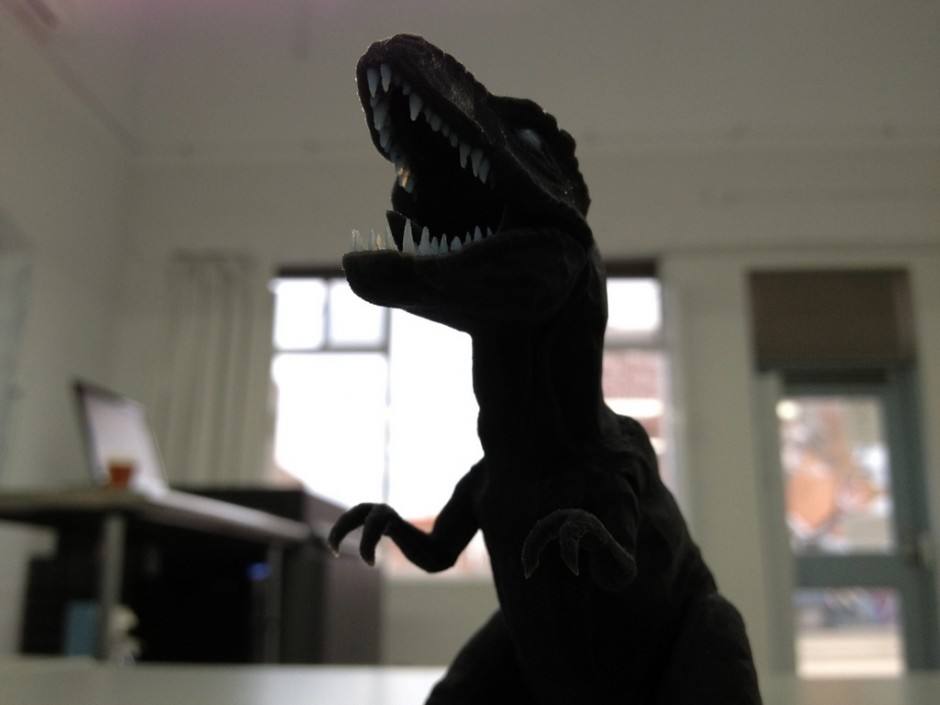
This time inspiration found us, in the form of a request for a Tyrannosaurus Rex and a scan of a man named “Gary”. Both of these designs can be found on Thingiverse, here and here. Gary was ready to print but our T-Rex needed some work. We decided to document the process and use the images to create a photo essay demonstrating the 3D printing process from design all the way through to finished product.
Preparation
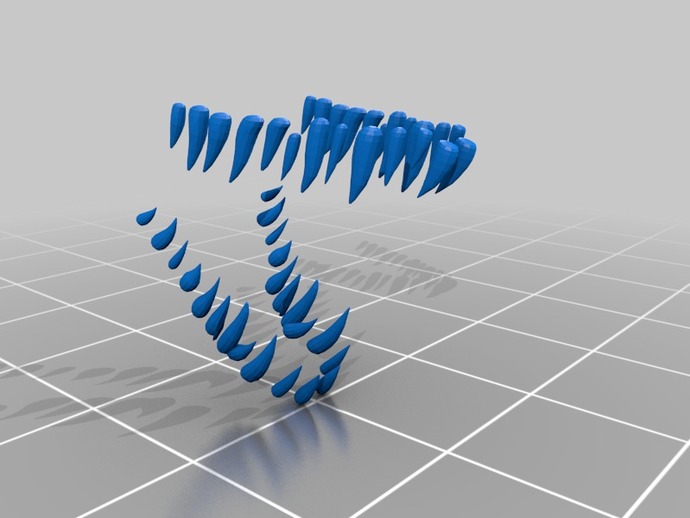
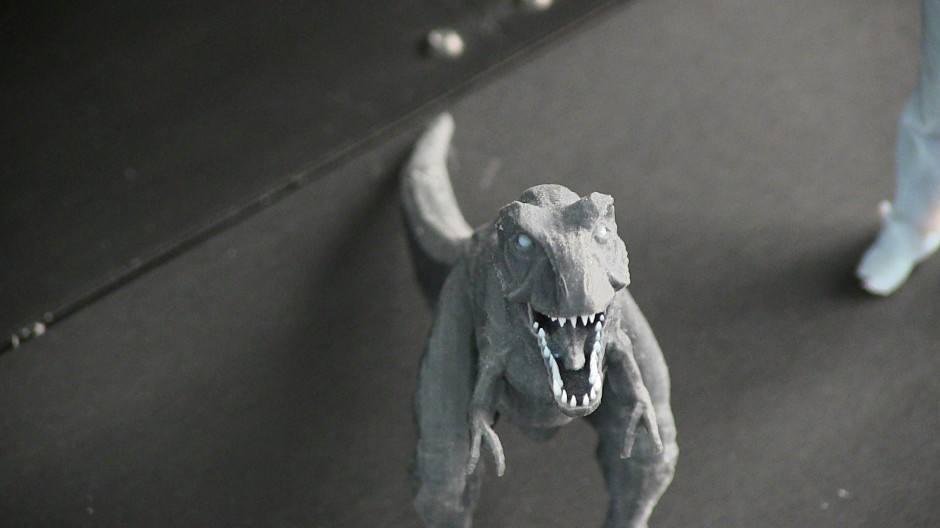
Gary is a high quality model that can stand on his own, making him a great design to test and display the capabilities of your printer. Since airuno2I’s model of Gary didn’t need any tweaking on our end, there was very little prep work to do before printing so for this section we will focus on the Dino (let’s call him Terry). Terry is based on a smaller T-Rex model that we had found here on Thingiverse, we saw this as a great starting point to build a larger T-Rex. Since we are using an Objet/Stratasys Connex printer we also decided to remix the design a little to take advantage of our printer’s multi-material capabilities. Using NetFabb Studio,we were able to isolate Terry’s eyes and teeth and move them into separate files.
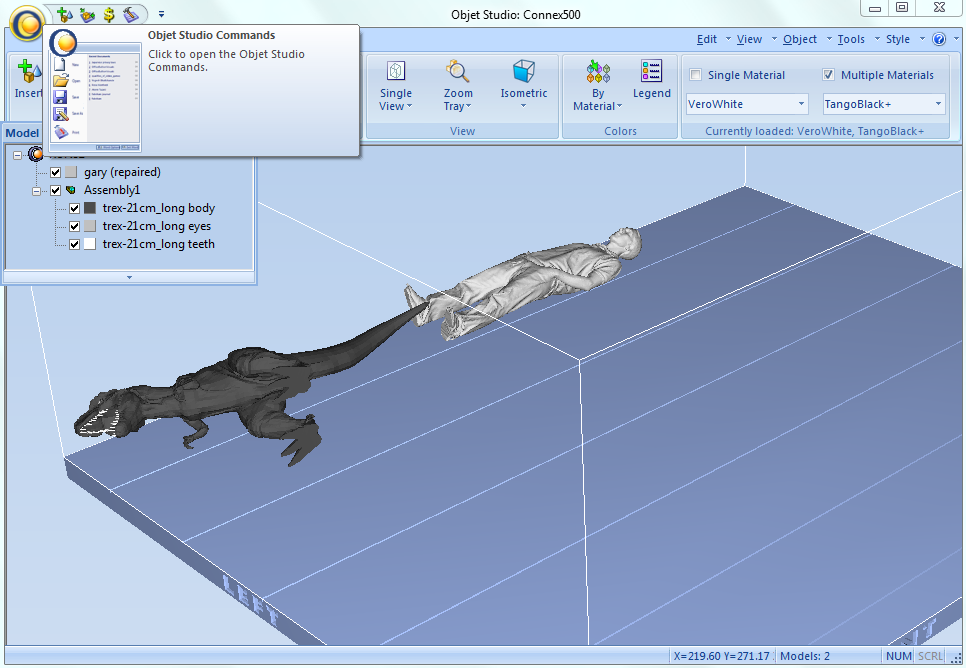
After isolating the eyes and the teeth, we imported the three files into Objet Studio as an assembly, which defines the relationship among separate pieces in a larger object. Then all we had to do was choose which materials to use for each part and we were ready to begin our print and bring Terry and Gary to life!
The Printing Process
For the eyes we went with VeroWhite and for the body Shore50. (We found the Shore50 to be a bit too rubbery and would choose Finally: printing time!
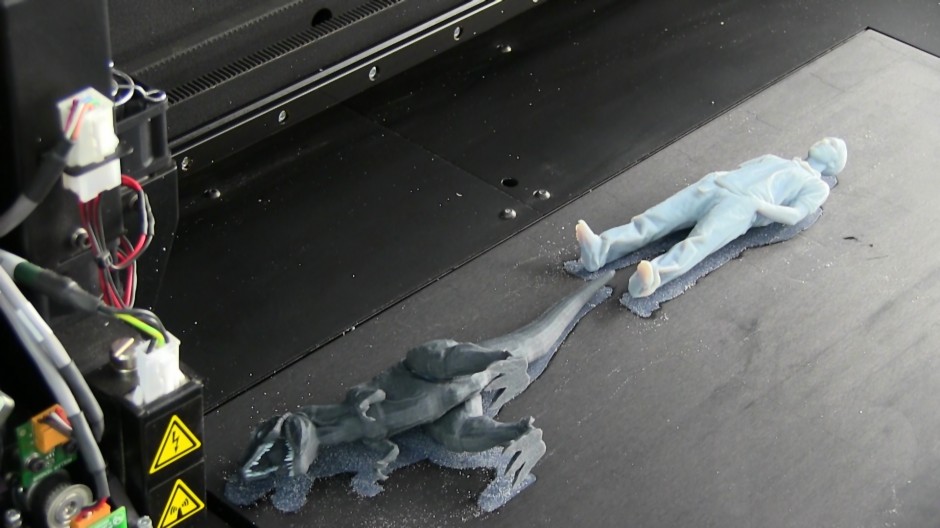
What’s that translucent white material encasing the objets? That’s the Connex printer’s support material, it acts as a kind of scaffolding that makes it possible to print complex designs. After printing, this material is washed away leaving the finished object.
Finishing The Objects
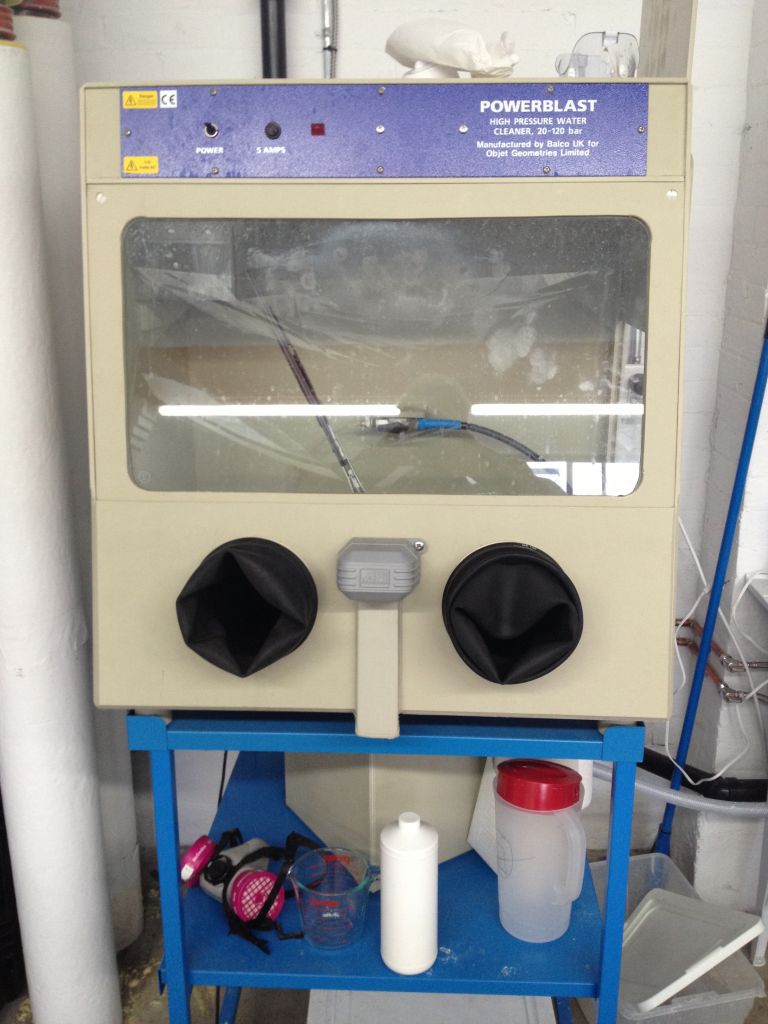
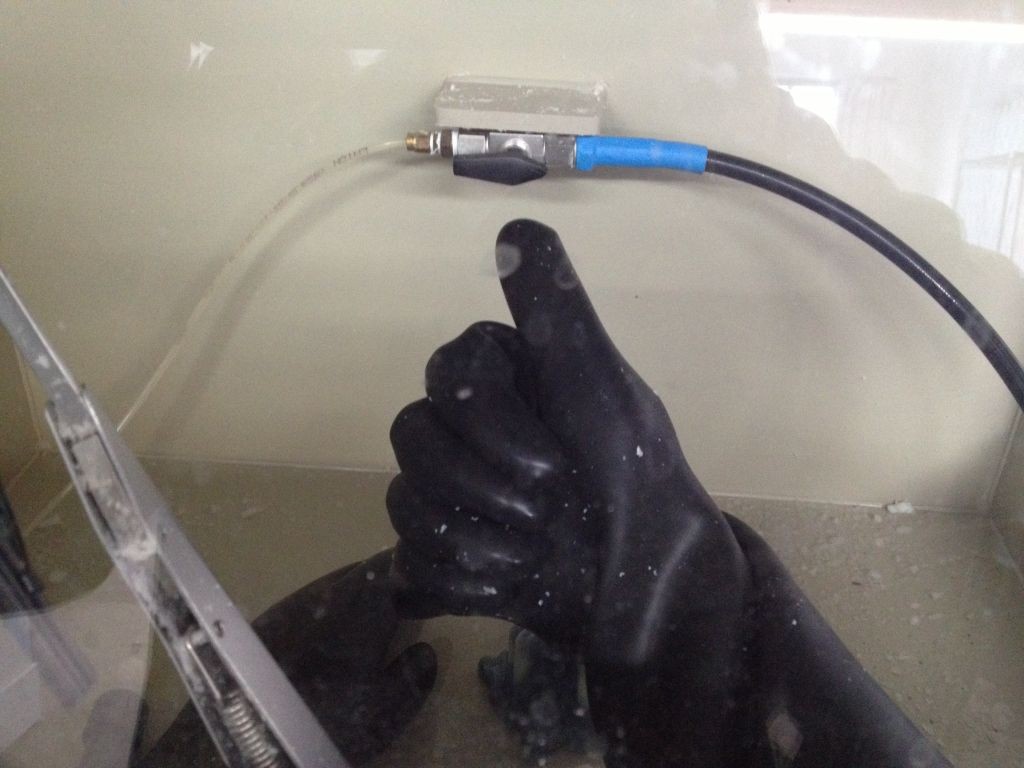
The last step in the process is the actual “finishing” of the printed objects. As mentioned above, the objects come out encased in a support material that must be removed. We use Objet’s high pressure water cleaner to finish most of our prints. These objects, both very robust, were no trouble to finish. A good tip for finishing small and fragile components is to use a Waterpik water flosser. They come in very handy for removing support material from some of our more delicate prints.
The Final Results
Aside from the minor material issue mentioned above, we were very happy with how these prints turned out. Here are Gary and Terry in their final forms:
There you have it, 3D printing from design to execution. Now that we’ve shown you what we can do, its your turn! Contact us and let us know how we can help you get printing today!
-3DPhacktory


